
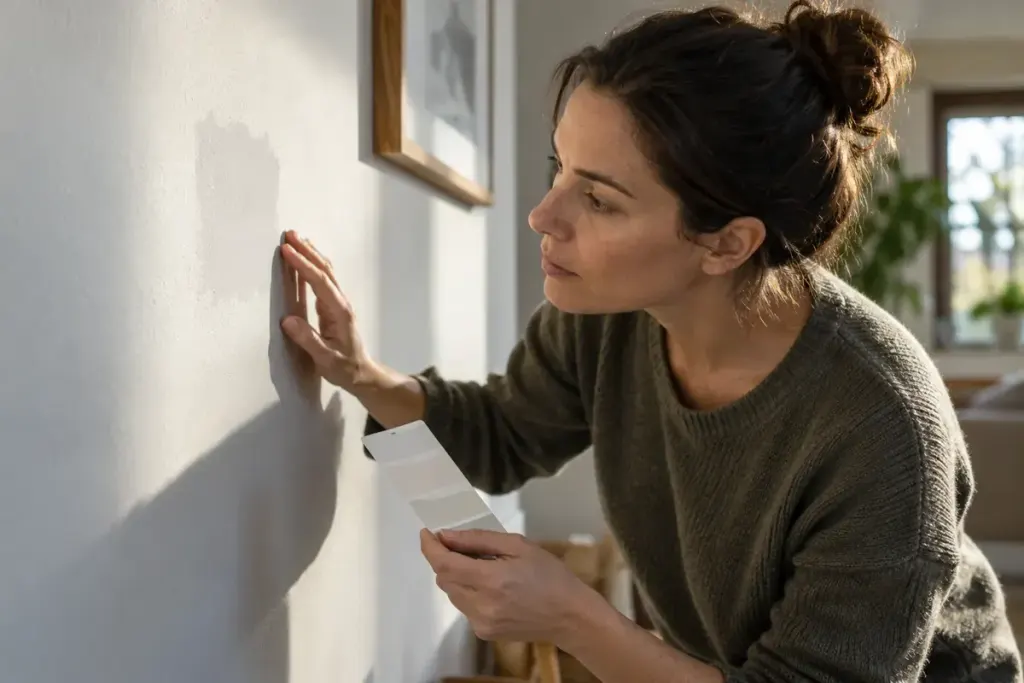
The saved paint tin has the right colour code, yet the repaired patch appears brighter when light crosses the wall. Colour is only part of what the eye sees. Sheen, surface texture, preparation and application can make a small patch stand out.
Before adding another coat, look at the area in more than one lighting condition and from several angles. Note whether the difference is mainly colour, gloss or a raised or smoother texture.
Check the material and the surface
Confirm the exact product and finish, not just the colour name. Paint from a different product line may behave differently even when the named shade matches. Check the stored paint’s condition and follow its manufacturer’s mixing and application instructions.
A repaired or filled area may absorb paint differently from the surrounding wall. Prepare and prime as directed for the surface and product. Do not assume that a thicker coat will conceal an underlying texture difference.
Use a small controlled test
Try the intended method in an inconspicuous area or on a suitable sample. Use an applicator that produces a texture comparable to the original finish. Allow the stated drying time before judging the result; wet paint is not the finished appearance.
Record the tool, preparation and number of coats. If the test fails, changing one factor at a time makes the next attempt easier to interpret.
Sometimes a spot repair cannot blend acceptably into an aged or strongly lit surface. In that case, repainting a complete section bounded by corners or another natural break may give a more consistent result. Discuss the scope with a decorator before repeatedly enlarging a patch.
The useful question is what makes the repair visible. Once you identify whether colour, sheen or texture is responsible, you can choose a proportionate response instead of continuing to apply the same paint in the same way.