
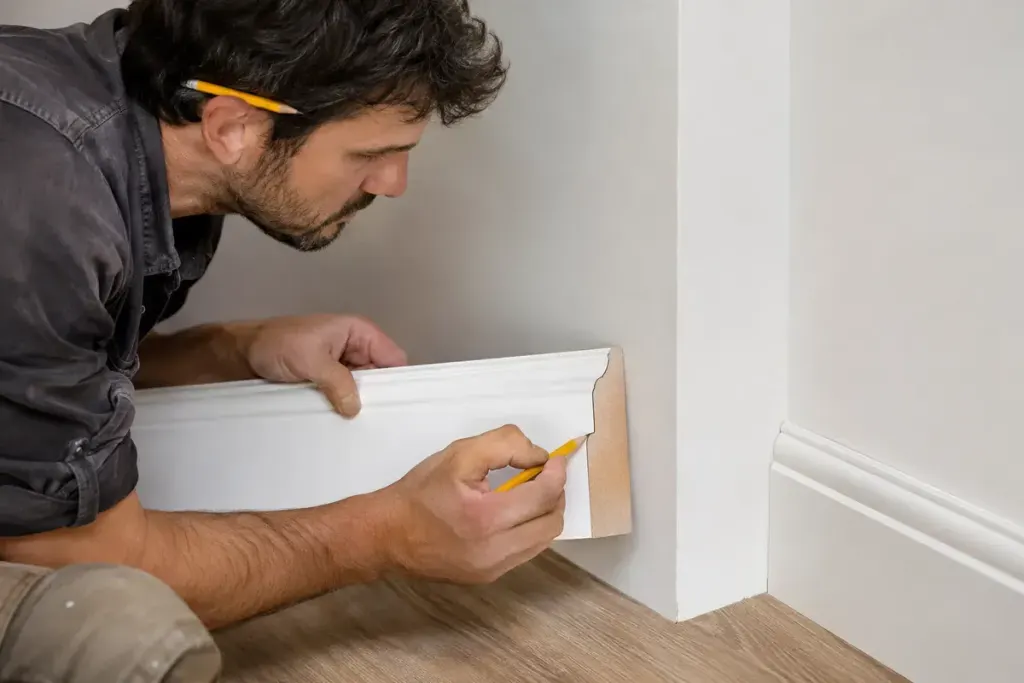
An internal corner is where a decorative skirting profile makes a simple-looking job less simple. Two straight boards may meet at an angle that is not quite square, leaving a visible gap across the moulded face.
One solution is a scribed or coped joint. One board finishes into the corner; the end of the adjoining piece is shaped to fit against its profile. The visible meeting line follows the moulding rather than relying only on two matching mitres.
Understand which surface must fit
Tom Silva’s demonstration in This Old House’s baseboard guide shows the role of coping at internal corners. The aim is a clean fit at the visible profile, with careful trimming and test fitting rather than assuming every wall angle is exact.
This is different from scribing the bottom edge to an uneven floor. Both use the idea of matching an irregular surface, but they solve different gaps. Identifying the location of the gap prevents an unnecessary change elsewhere on the board.
Make a sample corner first
Before committing a long piece, use offcuts of the actual profile to understand how the joint meets. Label which piece sits first and which overlaps the profile. Keep the orientation consistent; an apparently neat cut on an upside-down sample will not help on the wall.
For an illustrative inspection, hold the sample at the intended height and examine it from the usual standing view as well as close up. Mark the local point preventing the pieces from meeting. Removing a small obstruction is a more controlled adjustment than shortening the whole end repeatedly.
Use appropriate tool instruction, eye protection, dust control and secure support. This explanation is about the joint’s purpose, not a substitute for safe saw technique.
Agree the finish before installation
Painted and clear-finished timber make gaps visible in different ways. Discuss the expected finish and movement with the installer instead of assuming filler will disguise any joint indefinitely.
A good renovation note records the chosen profile, sample joint and finish. When another corner looks awkward, you can compare it with that reference. The detail is small, but understanding it makes conversations about workmanship much more precise.