
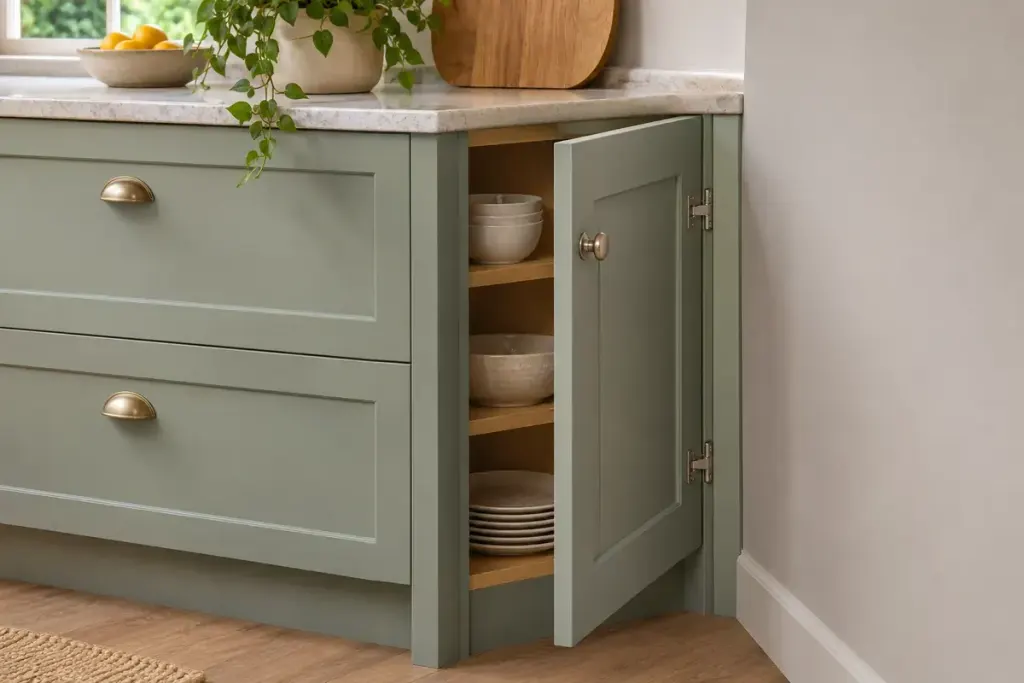
A narrow filler beside a kitchen cabinet can look like wasted space on a plan. In use, that strip may be what lets the door and handle clear the wall. Removing it to gain a little storage can leave a cabinet that looks fitted but cannot open properly.
IKEA’s explanation of kitchen filler pieces connects the gap with opening clearance, uneven walls and nearby projections. Its dimensions are guidance for its systems; another cabinet, hinge or appliance can require a different allowance.
Draw the movement, not just the closed front
On your plan, mark the door’s swing and the handle’s path. Include skirting, a radiator, a window sill and any trim that projects from the wall. Check drawers through their full travel rather than assuming that a door opening a little is enough.
In a fictional layout, a cabinet door clears the flat wall but its handle strikes the projecting window sill. The overall room width was measured correctly; the missing information was the obstacle within the opening path.
Check the inside too
Internal pull-outs and appliance compartments may need a wider opening than you expect. Ask the supplier to confirm the required clearance using the exact cabinet, hinge, handle and interior fittings. Keep that confirmation with the installation drawing.
A filler is also different from a decorative end panel. Both may use matching material, but their positions and purposes are not automatically interchangeable. Ask the installer to label them separately in the quote so the finished detail is understood.
Before the full run is fixed, trial the end assembly and its neighbouring components according to the manufacturer’s instructions. Confirm that the intended opening still works after the handle is fitted. Do not trim away a required clearance merely to make a front elevation look more symmetrical.
The best filler width is the one that satisfies the real geometry and the system’s requirements. A neat narrow strip earns its place when the kitchen remains comfortable to use after the installation photograph has been taken.